Perfect Ribeye: Master the Sear-to-Oven Method for Unforgettable Tenderness & Flavor
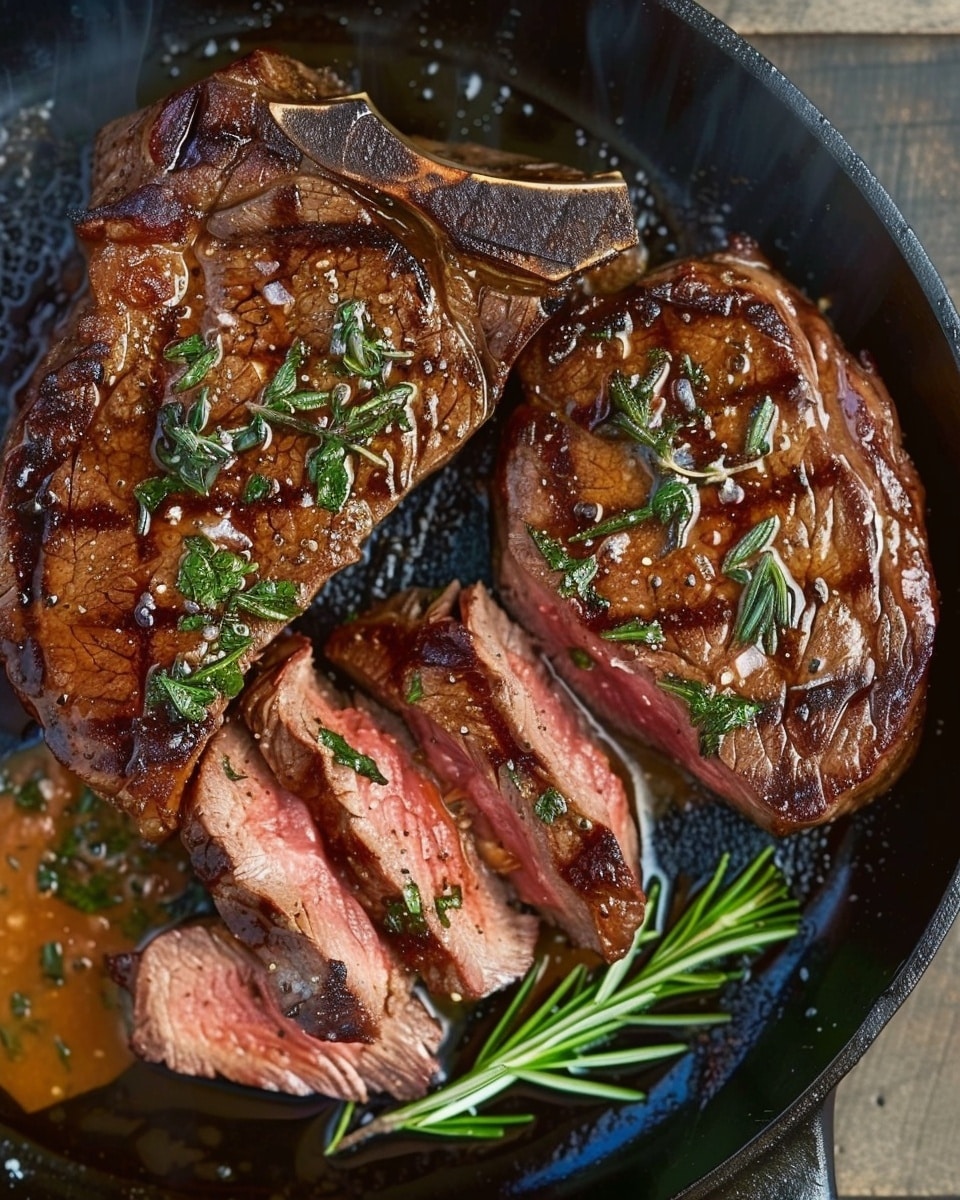
Imagine a ribeye steak with a glorious, deeply caramelized crust, giving way to an incredibly tender, juicy interior bursting with rich, beefy flavor. This isn't just a dream reserved for high-end steakhouses; it's an achievable reality in your own kitchen with the right technique. Forget inconsistent grilling or timid stovetop attempts. The sear-to-oven method is a game-changer, especially for a premium cut like a
Ribeye Steak, ensuring restaurant-quality results every single time. This approach leverages the best of both worlds: intense direct heat for that coveted crust and gentle, even heat from the oven for perfect internal doneness.
Why the Sear-to-Oven Method Reigns Supreme for Ribeye Steak
The beauty of a
Ribeye Steak lies in its magnificent marbling – those delicate streaks of intramuscular fat that weave throughout the meat. When cooked correctly, this fat renders, basting the steak from within, infusing it with an unparalleled succulence and depth of flavor. The sear-to-oven method is uniquely suited to unleash this potential.
Beginning with a scorching hot pan, typically a heavy-bottomed cast-iron skillet, we initiate the Maillard reaction. This complex chemical process is responsible for the rich brown crust and savory aromas we associate with perfectly cooked meat. Unlike slower cooking methods, such as pure oven-roasting, pan-searing begins building this flavor profile instantly. The high heat creates a beautiful, golden, caramelized exterior quickly, mimicking the results you'd expect from a professional steakhouse.
After achieving that initial stunning sear, the steak is transferred to a preheated oven to finish cooking. This crucial step allows the heat to penetrate the steak more gently and evenly from all sides, preventing the exterior from overcooking while the interior slowly reaches your desired doneness. This two-stage approach ensures a tender, juicy center without the risk of a gray band of overcooked meat often found in steaks cooked entirely on the stovetop. It's the secret to consistent perfection, delivering a juicy steak with a golden, caramelized crust every time. To further refine your stovetop skills, consider exploring how to
Master Pan-Seared Ribeye: Juicy Steakhouse Quality at Home.
Choosing Your Perfect Ribeye Steak: Marbling, Grade, and Thickness
The foundation of an exquisite
Ribeye Steak experience begins long before it hits the pan – it starts with selection. This cut, taken from the rib section of the cow, is celebrated precisely because of its generous marbling. These thin white streaks of fat are key; as they melt during cooking, they contribute significantly to the steak's signature juiciness and rich flavor.
When at the butcher or grocery store, look for a well-marbled boneless ribeye, ideally between 1.5 to 2 inches thick. Thicker cuts are more forgiving and allow for a better temperature gradient, making it easier to achieve that perfect medium-rare center with a crisp crust.
Consider the USDA grading system:
- USDA Prime: This is the highest grade, indicating abundant marbling. Prime ribeyes will have fat distributed throughout the muscle, leading to an incredibly tender and flavorful steak. They are increasingly available in many grocery stores and are an excellent choice if your budget allows.
- USDA Choice: Still high quality, Choice steaks have less marbling than Prime but are very common and often more affordable. They can still yield fantastic results, especially with the sear-to-oven method.
While both grades can be delicious, the Prime steak's superior marbling genuinely shines through. Regardless of the grade, ensure the steak has a vibrant red color and firm texture.
Essential Ingredients and Tools for a Steakhouse-Quality Ribeye
Creating a legendary
Ribeye Steak doesn't require a complex list of ingredients or an arsenal of specialized equipment. The beauty often lies in simplicity, allowing the natural, rich flavors of the meat to take center stage.
Key Ingredients:
- Ribeye Steak: As discussed, a well-marbled, 1.5 to 2-inch thick boneless cut is ideal.
- Coarse Salt: Kosher salt or sea salt works best for seasoning. Liberally applied, it draws moisture out, then reabsorbs, contributing to a better crust and seasoning.
- Freshly Cracked Black Pepper: Adds a pungent, aromatic kick that complements the beef perfectly.
- High Smoke-Point Oil: Essential for searing without burning. Options include avocado oil, canola oil, or vegetable oil. Olive oil has too low a smoke point for searing.
- Unsalted Butter: Crucial for basting the steak, adding richness and helping to develop a beautiful golden-brown finish.
- Fresh Aromatics: These infuse the steak with deep, complementary flavors. Shallots, garlic cloves (smashed), and sprigs of fresh herbs like thyme or rosemary are excellent choices. Sage or oregano can also be used.
Recommended Tools:
- Heavy-Bottomed Skillet: A cast-iron skillet is highly recommended due to its excellent heat retention and even heating. Stainless steel can also work.
- Tongs: For safely handling and flipping the steak in a hot pan.
- Instant-Read Meat Thermometer: Absolutely essential for accurately gauging internal doneness and avoiding overcooking. This is your best friend for precision.
- Wire Rack with Baking Sheet: For resting the steak and for the oven finishing step, allowing air circulation.
- Paper Towels: To thoroughly pat the steak dry before seasoning, which is critical for a good sear.
Mastering the Sear-to-Oven Technique: Step-by-Step Guide
Achieving perfection with your
Ribeye Steak using the sear-to-oven method is all about precise steps and understanding the "why" behind each action.
Step 1: Preparation is Key
- Bring to Room Temperature: Remove your ribeye from the refrigerator at least 30-60 minutes before cooking. This allows the steak to cook more evenly from edge to center.
- Pat Dry: Using paper towels, thoroughly pat both sides of the steak dry. Excess surface moisture will steam rather than sear, hindering crust formation.
- Season Liberally: Season both sides of the steak generously with coarse salt and freshly cracked black pepper. Don't be shy – much of the seasoning will fall off during cooking. For truly unlocking the best in your ribeye, consider these Simple Steps for a Flavorful, Juicy Steak.
Step 2: Preheat Your Oven & Pan
- Preheat Oven: Set your oven to 375-400°F (190-200°C).
- Heat the Pan: Place your heavy-bottomed skillet (preferably cast iron) over high heat on the stovetop. Add a thin layer of high smoke-point oil. Heat until it begins to shimmer and lightly smoke – this indicates it’s hot enough for a proper sear.
Step 3: The Searing Stage
- Sear the First Side: Carefully place the seasoned ribeye into the smoking hot pan. Do not move it. Allow it to sear undisturbed for 1.5 to 3 minutes, depending on the steak's thickness and desired crust. This initial untouched sear is crucial for building that beautiful crust.
- Flip and Continue Searing: Gently flip the steak to the other side and sear for another 1.5 to 3 minutes, again, without moving it.
Step 4: Aromatic Basting
- Add Aromatics and Butter: Reduce the heat slightly to medium-high. Add a generous knob of butter (2-4 tablespoons) to the pan, along with your smashed garlic cloves and fresh herb sprigs (thyme, rosemary).
- Baste: As the butter melts and sizzles, tilt the pan slightly and, using a spoon, continuously baste the melted butter and aromatics over the steak for about 1-2 minutes. This infuses the steak with incredible flavor and helps create an even, rich crust.
Step 5: Oven Finish for Perfect Doneness
- Transfer to Oven: Immediately transfer the skillet (with the steak, butter, and aromatics) to the preheated oven.
- Monitor Temperature: Cook in the oven until the steak reaches your desired internal temperature. Use an instant-read thermometer inserted into the thickest part of the steak.
- Rare: 120-125°F (49-52°C)
- Medium-Rare: 125-130°F (52-54°C)
- Medium: 130-135°F (54-57°C)
- Medium-Well: 135-140°F (57-60°C)
Remember that the temperature will rise by 5-10 degrees during resting.
Tips for Perfection and Serving Your Ribeye Steak
The final steps are just as important as the cooking itself to ensure your
Ribeye Steak is as tender and juicy as possible.
- Resting is Non-Negotiable: Once your steak reaches the target temperature, immediately remove it from the pan and place it on a wire rack set over a cutting board or baking sheet. Tent it loosely with foil. Let it rest for at least 5-10 minutes (for thicker cuts, up to 15 minutes). This allows the juices, which have been driven to the center during cooking, to redistribute throughout the meat, preventing them from gushing out when sliced.
- Compound Butter Boost: For an extra layer of flavor, top the resting steak with a pat of compound butter (e.g., garlic-herb butter, blue cheese butter). The melting butter will seep into the warm meat.
- Slice Against the Grain: Once rested, slice your ribeye against the grain. This shortens the muscle fibers, making each bite incredibly tender and easy to chew.
- Serve Immediately: A perfectly cooked ribeye is best enjoyed fresh from the rest.
Conclusion
Mastering the sear-to-oven method for your
Ribeye Steak is a culinary triumph that elevates home cooking to steakhouse standards. By understanding the science behind the searing and the gentle finish of the oven, you're empowered to create a tender, flavorful, and perfectly crusted steak every time. This foolproof technique, combined with thoughtful ingredient selection and a few simple tools, proves that a luxurious dining experience is well within reach. So go ahead, grab that beautiful cut of ribeye, and prepare to impress yourself and your loved ones with a steak that's nothing short of legendary.